When planning your installation, it is essential to work with your local stone fabrication shop. Granite is heavy, difficult to transport, and must be cut with specialized tools. And while it’s known for its toughness, if not handled properly or installed with proper support, it can crack or, worse, break.
STEP 1
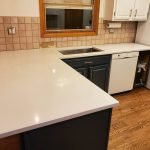
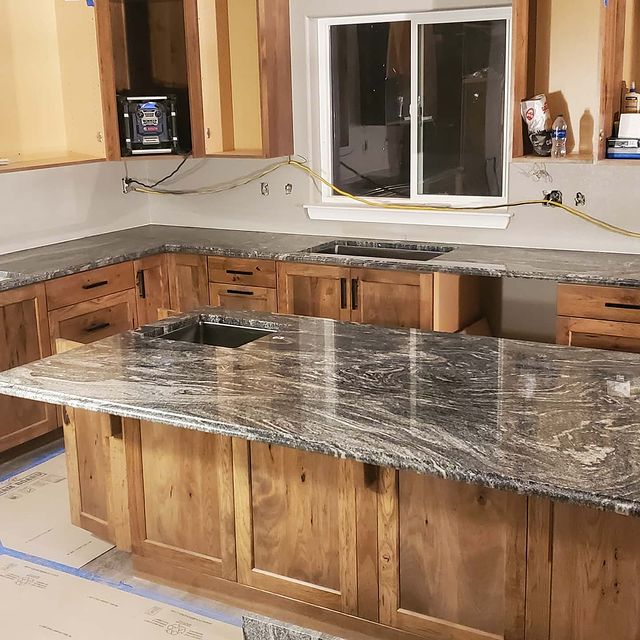
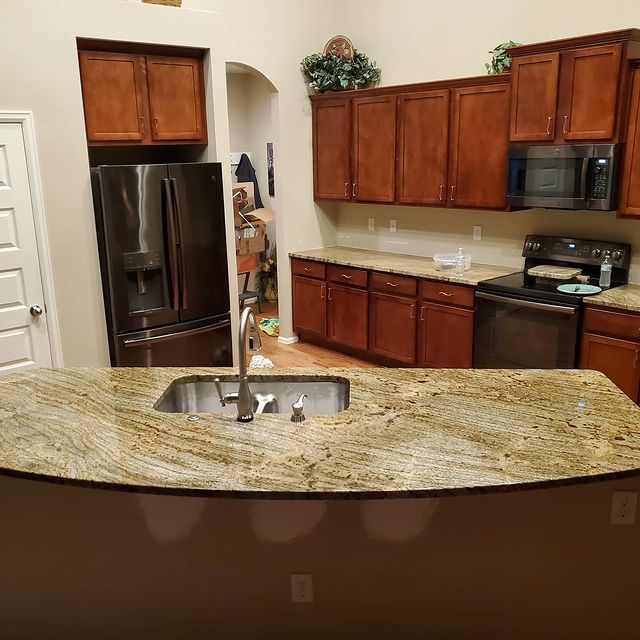
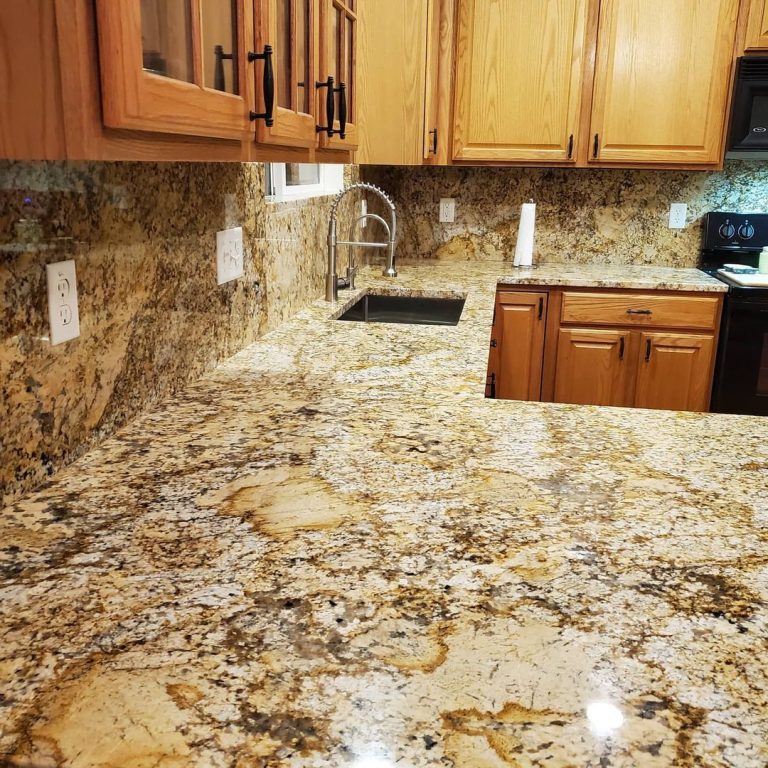
Choosing Your Granite Countertops
Decide on your choice of granite countertops. Your granite countertops company will have lots of samples and slabs. You will see all the varied colors and grain patterns up close. You will also see the different border designs to choose from. You may want the manufacturer to visit your kitchen to check for anything that might affect the workmanship of the countertops, such as dents in the walls or exposed pipes.
In addition to the main surface of the counter, you will need to decide on the length of the counter overhang, as well as the type and size of the backsplash.
STEP 2
Taking Measurements
When measuring your kitchen, start from one wall to the opposite wall. If your existing countertops are still in place, remember to note the floor thickness of your drawer. When working with cabinets, measure from the wall to the end of the cabinet then indicate where the overhang will be placed. The manufacturer will help you determine the correct overhang measurement. Mark the measurements on your plan in inches and indicate where the finished edges, drawers, and appliances will go. Measure from sink to wall, If you are unsure of the center of the sink, measure the point where the cabinet doors meet in the middle. Once you’ve chosen your granite and your old countertops have been removed, take accurate measurements of your base cabinets to give to the fabricator. Start with the tops of the base cabinets, including the distance from the front of the face frame to the wall the full length of the cabinets.
STEP 3
Creating a Model
Many kitchens have angled or rounded countertops. For such counters, manufacturing requires templates and professional template fabricators use thin strips of plastic to outline the area. However, cardboard boxes are a handy substitute so, from below, draw the plan of your cabinet or counter. Mark the top so the maker knows which lane is up. This is an important step: if it’s not clear, you can complete a mirror image of your real counter! If you traced your existing counter, mark the gauge as it is. If you have drawn cabinets, indicate where the overhang will be and how much overhang you want. Mark finished edges, locations of any adjacent appliances, and drawer areas.
The most accurate way to get measurements for your fabricator is to make a template out of cardboard, thin luan plywood, or even Mylar plastic. Trace the template so that it fits snugly against the wall along the run of cabinets before tracing the front edge onto the template.
In your pattern, you need to measure the exact locations of the cutouts for the sinks and cooktops, as well as the holes for the faucets and soap dispensers. Be careful not to leave a span of more than 2 feet between cabinets, for example above a dishwasher. And leave no more than 6 inches of unsupported overhang with a 2 cm stone and 9 inches with a 3 cm stone. If you are planning an undermount sink, mark it on the manufacturer’s template, who may cut a groove along the bottom edge of the sinkhole, so that the sink clips can be attached. Also, insist that your fabricator “bar” the cutouts with steel or fiberglass bracing to reinforce the tight areas around the cutouts. Remember, if you feel more comfortable, you can always negotiate an itemized price to have your stone fabricator come and take the measurements to ensure accuracy. Once you’ve clearly defined your requirements and submitted your measurements, set a date for pickup or delivery of your finished countertops.
Check that your base cabinets are level along their entire length. Otherwise, detach the base units and level them with shims under the plinth.
STEP 4
Installation Prepwork
Check that your base cabinets are level along their entire length. Otherwise, detach the base units and level them with shims under the plinth. It is not a good idea to use shims directly under the granite countertop. This will create small voids that could cause the granite to crack under pressure. It is important to always wear countertops in an upright position, never flat horizontally, to avoid splitting or breaking the stone. To transport granite slabs, place them on an A-frame, like glass. If necessary, you can create a simple rack from 2x4s. Protect the edges by covering them with wide painter’s tape.
STEP 5
Transporting the Granite Countertops
Now that you’ve given the manufacturer the measurements and upgraded your cabinets, it’s time to get the cut countertops home safely, which can be tricky. Unless they’re delivered, you’ll need to grab the counters from the manufacturer when they’re ready. Remember that granite is heavy – a 2′ x 6′ countertop can weigh over 400 pounds – so get help transporting and moving countertops safely. It is important to always wear countertops in an upright position, never flat horizontally, to avoid splitting or breaking the stone. To transport granite slabs, place them on an A-frame, like glass. If necessary, you can create a simple rack from 2x4s. Protect the edges by covering them with wide painter’s tape. When the slabs arrive, have a clear space in the kitchen so you can store them upright until you’re ready to install them.
STEP 6
Join Any Seams
With flush and level slabs on the cabinets, if you have multiple slabs now is the time to put them together. First, glue the edges to protect them. Join the butt seams using color-matched two-part epoxy, which you can buy at a hardware store. Tighten the thumbscrews until resistance is felt. Attach and turn on the automatic pump – the tension created will ensure that the edges of the seams stay aligned as the epoxy dries. A seam setter also ensures that the top edges of the seams remain aligned. When the epoxy is dry, after about an hour, remove the fixative. Next, carefully rinse off any excess epoxy using a single-blade razor held vertically. Do not hold the razor at an angle or you may damage the epoxy. And remember to use even strokes.
STEP 7
Attach to the Cabinets
Now that the slab joints are joined, it’s time to attach the stone to the cabinetry. The weight of the countertops themselves is almost enough to hold the stone in place, but you’ll still want to run a bead of caulk along the bottom perimeter of the countertop where the stone meets the top of the cabinet. Do not use silicone sealant; over time, the silicone sealant could soak into the stone and cause stains. Stick with acrylic.
STEP 8
Seal Your New Granite Countertops
Once your installation is complete, finish by applying a granite-based sealer to your countertops; this will protect the stone and prevent any deep staining. Simply wipe evenly with a soft, clean cloth, making sure to thoroughly cover the surfaces. Let dry for 24 hours.
Installing granite countertops yourself is a challenge, but it can be done and the upgrades to your kitchen are well worth the effort. If this isn’t a job you feel comfortable tackling yourself, you can get a free estimate from C&J’s Granite for installation of granite countertops in your Denver area home.